
These guides on xeni.com are available in English and Spanish. Other languages are coming soon.
Zoho SalesIQ keeps the website code on the brand, under the Website channel. Use the current widget code. Zoho is retiring the old widget on May 15, 2026. Official steps: Setting up the Website channel.
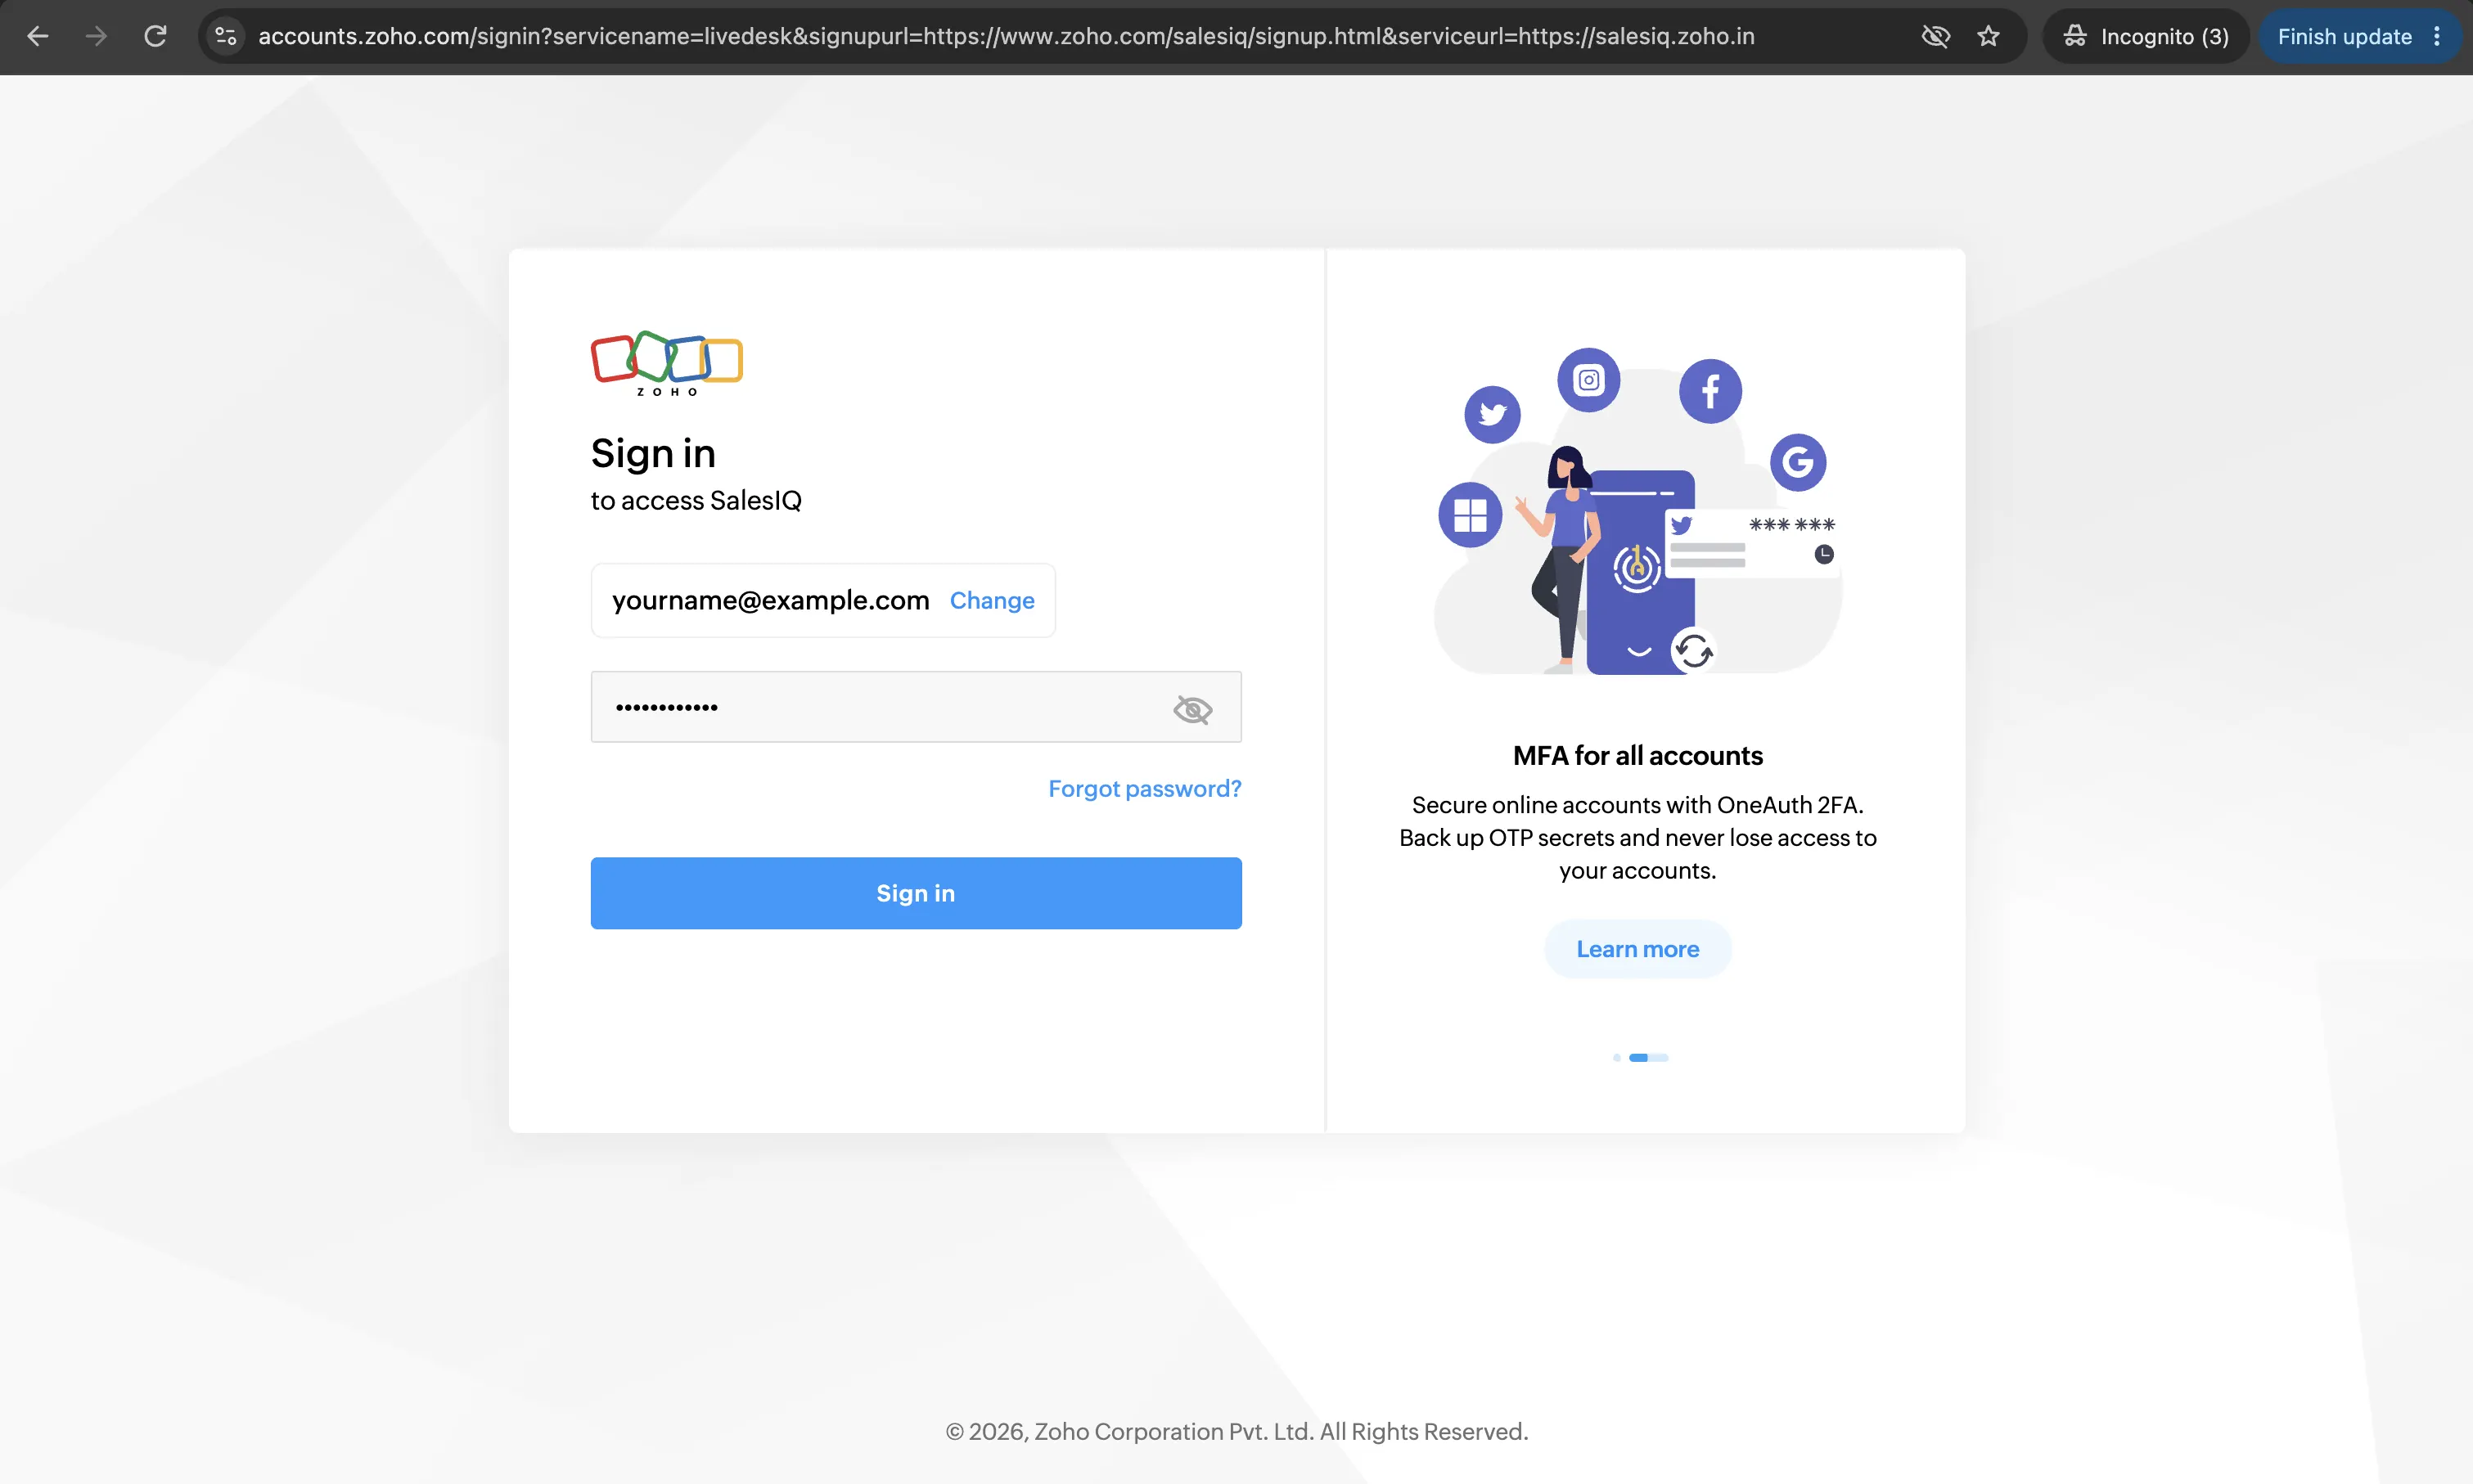
1. Sign in on the right region
Open the SalesIQ site for the data center where the account was created.
- Global: salesiq.zoho.com
- India: salesiq.zoho.in
- Europe: salesiq.zoho.eu
- Australia: salesiq.zoho.com.au
- Japan: salesiq.zoho.jp
Sign in with the Zoho account that owns this brand. The region in the address bar is the region you will select in Xeni if the code does not include it.
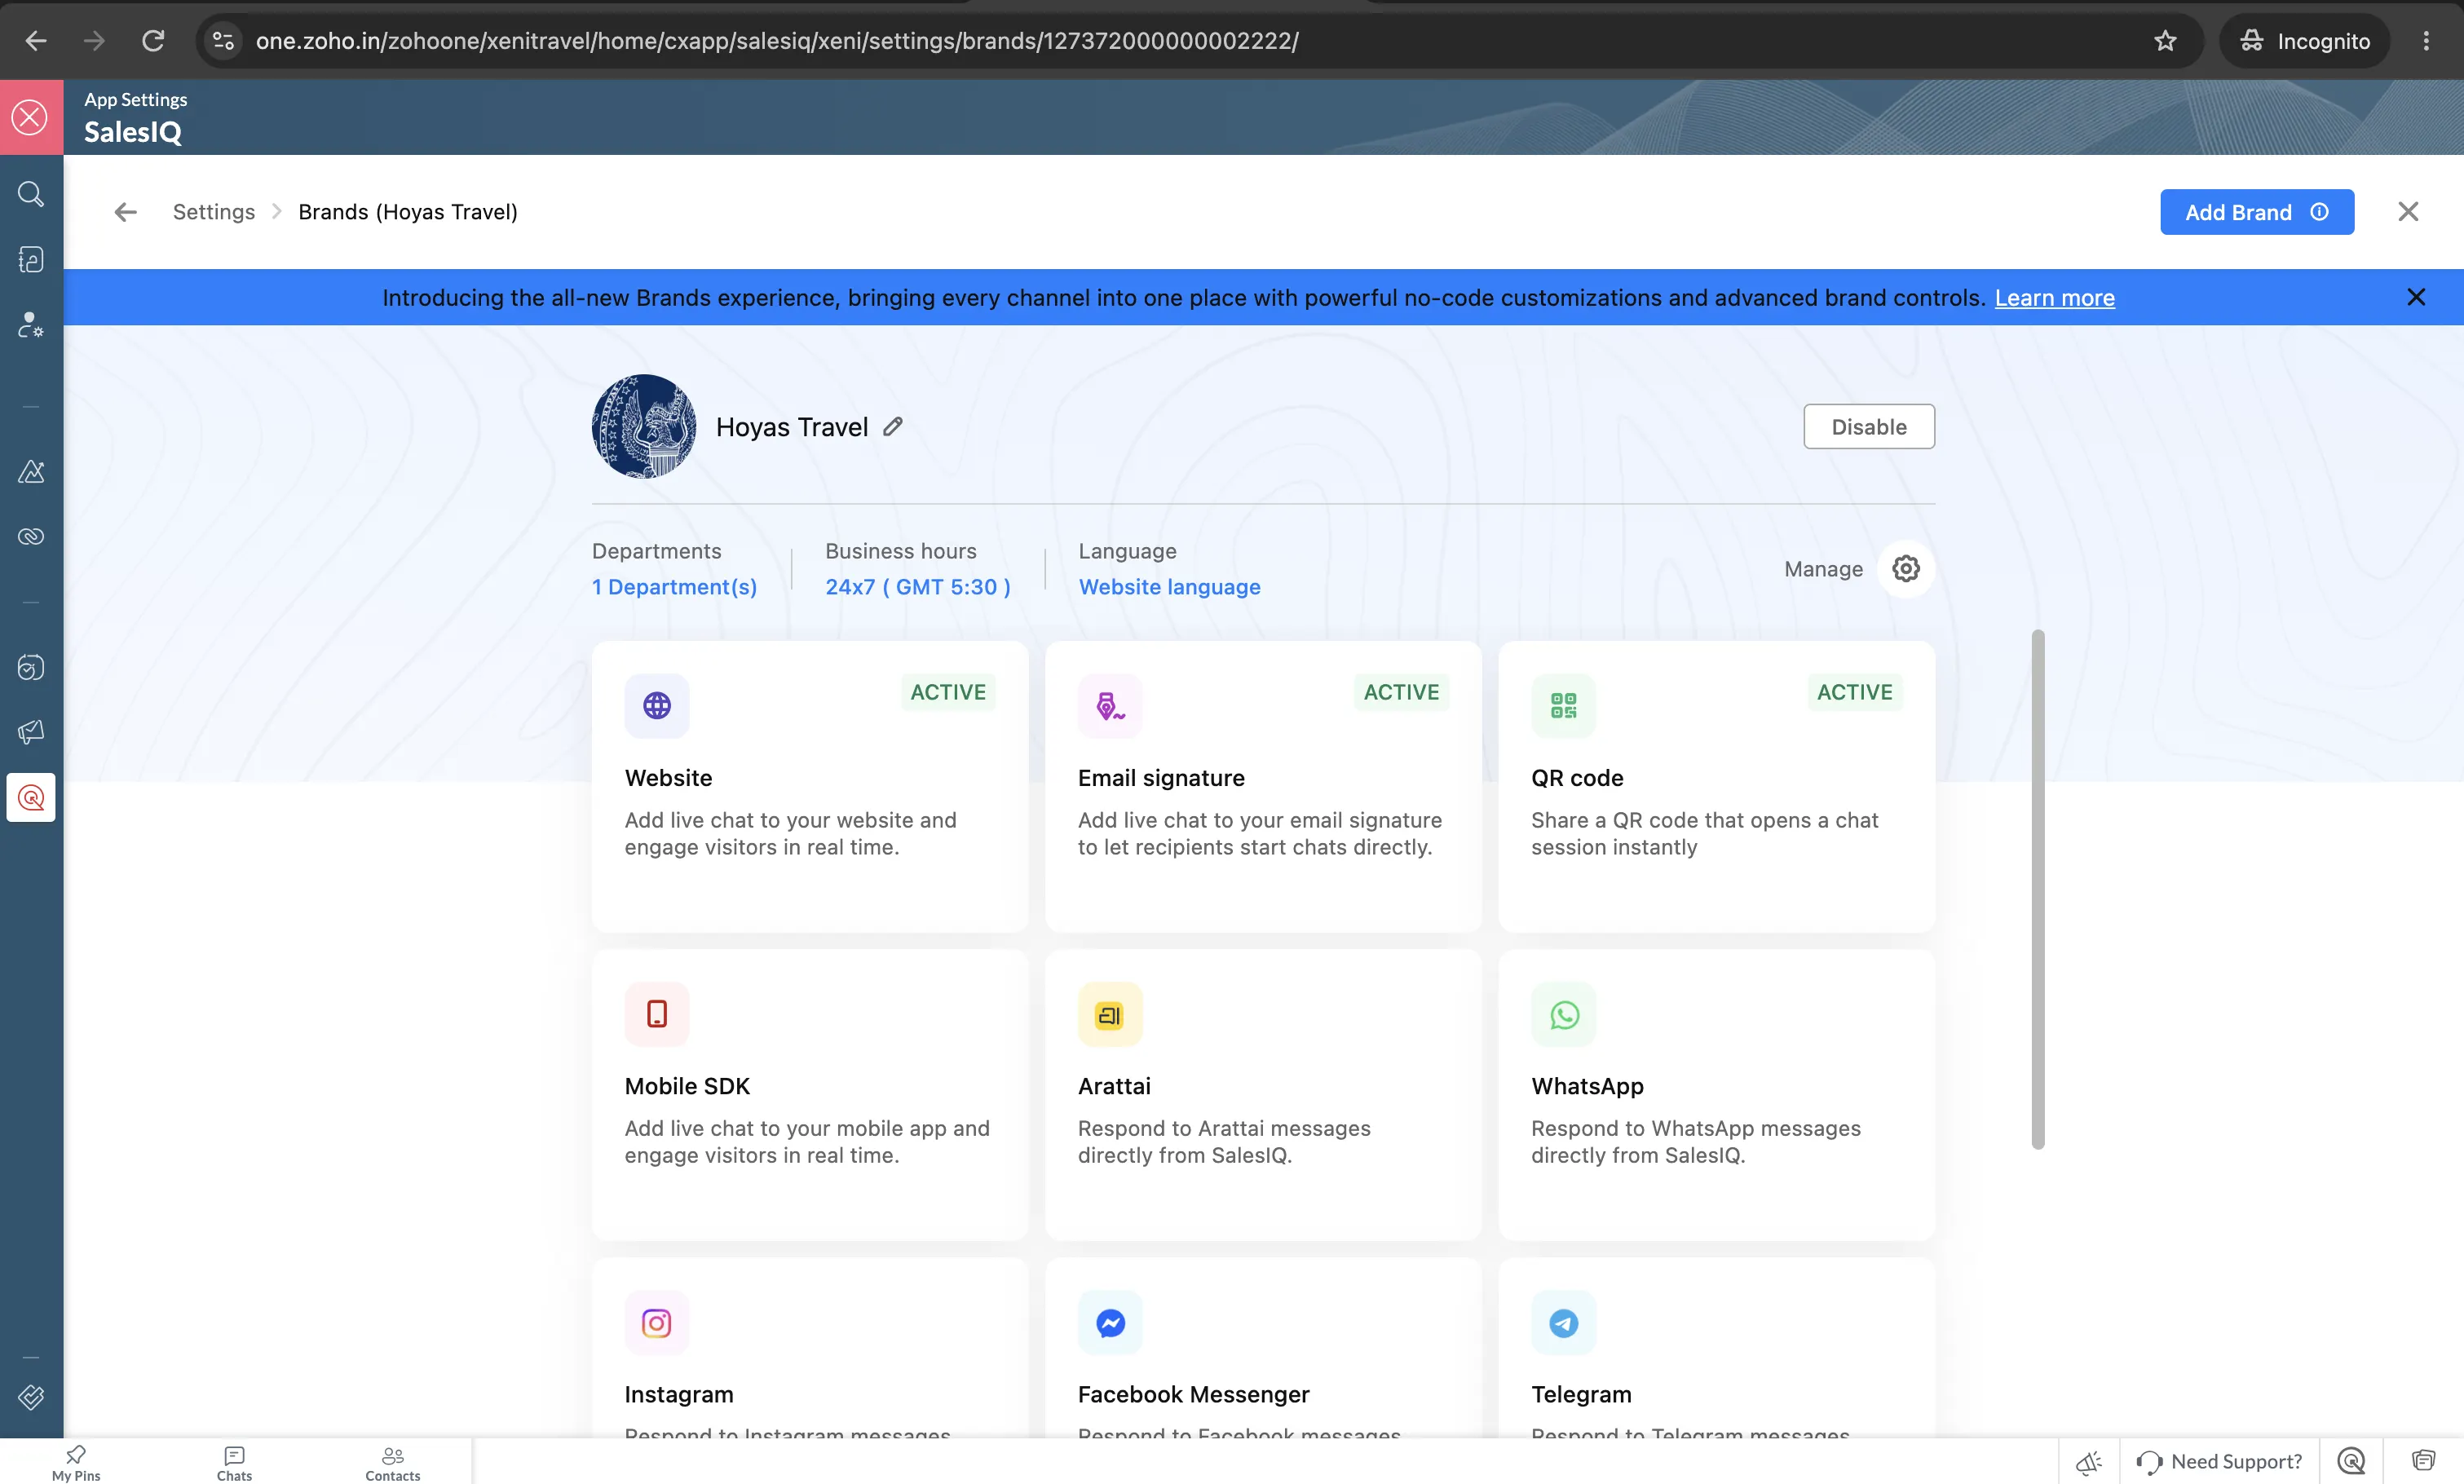
2. Open your brand
Go to Settings, then Brands. SalesIQ creates the first brand from the company name you used at sign-up. Open the brand you want on the booking site.
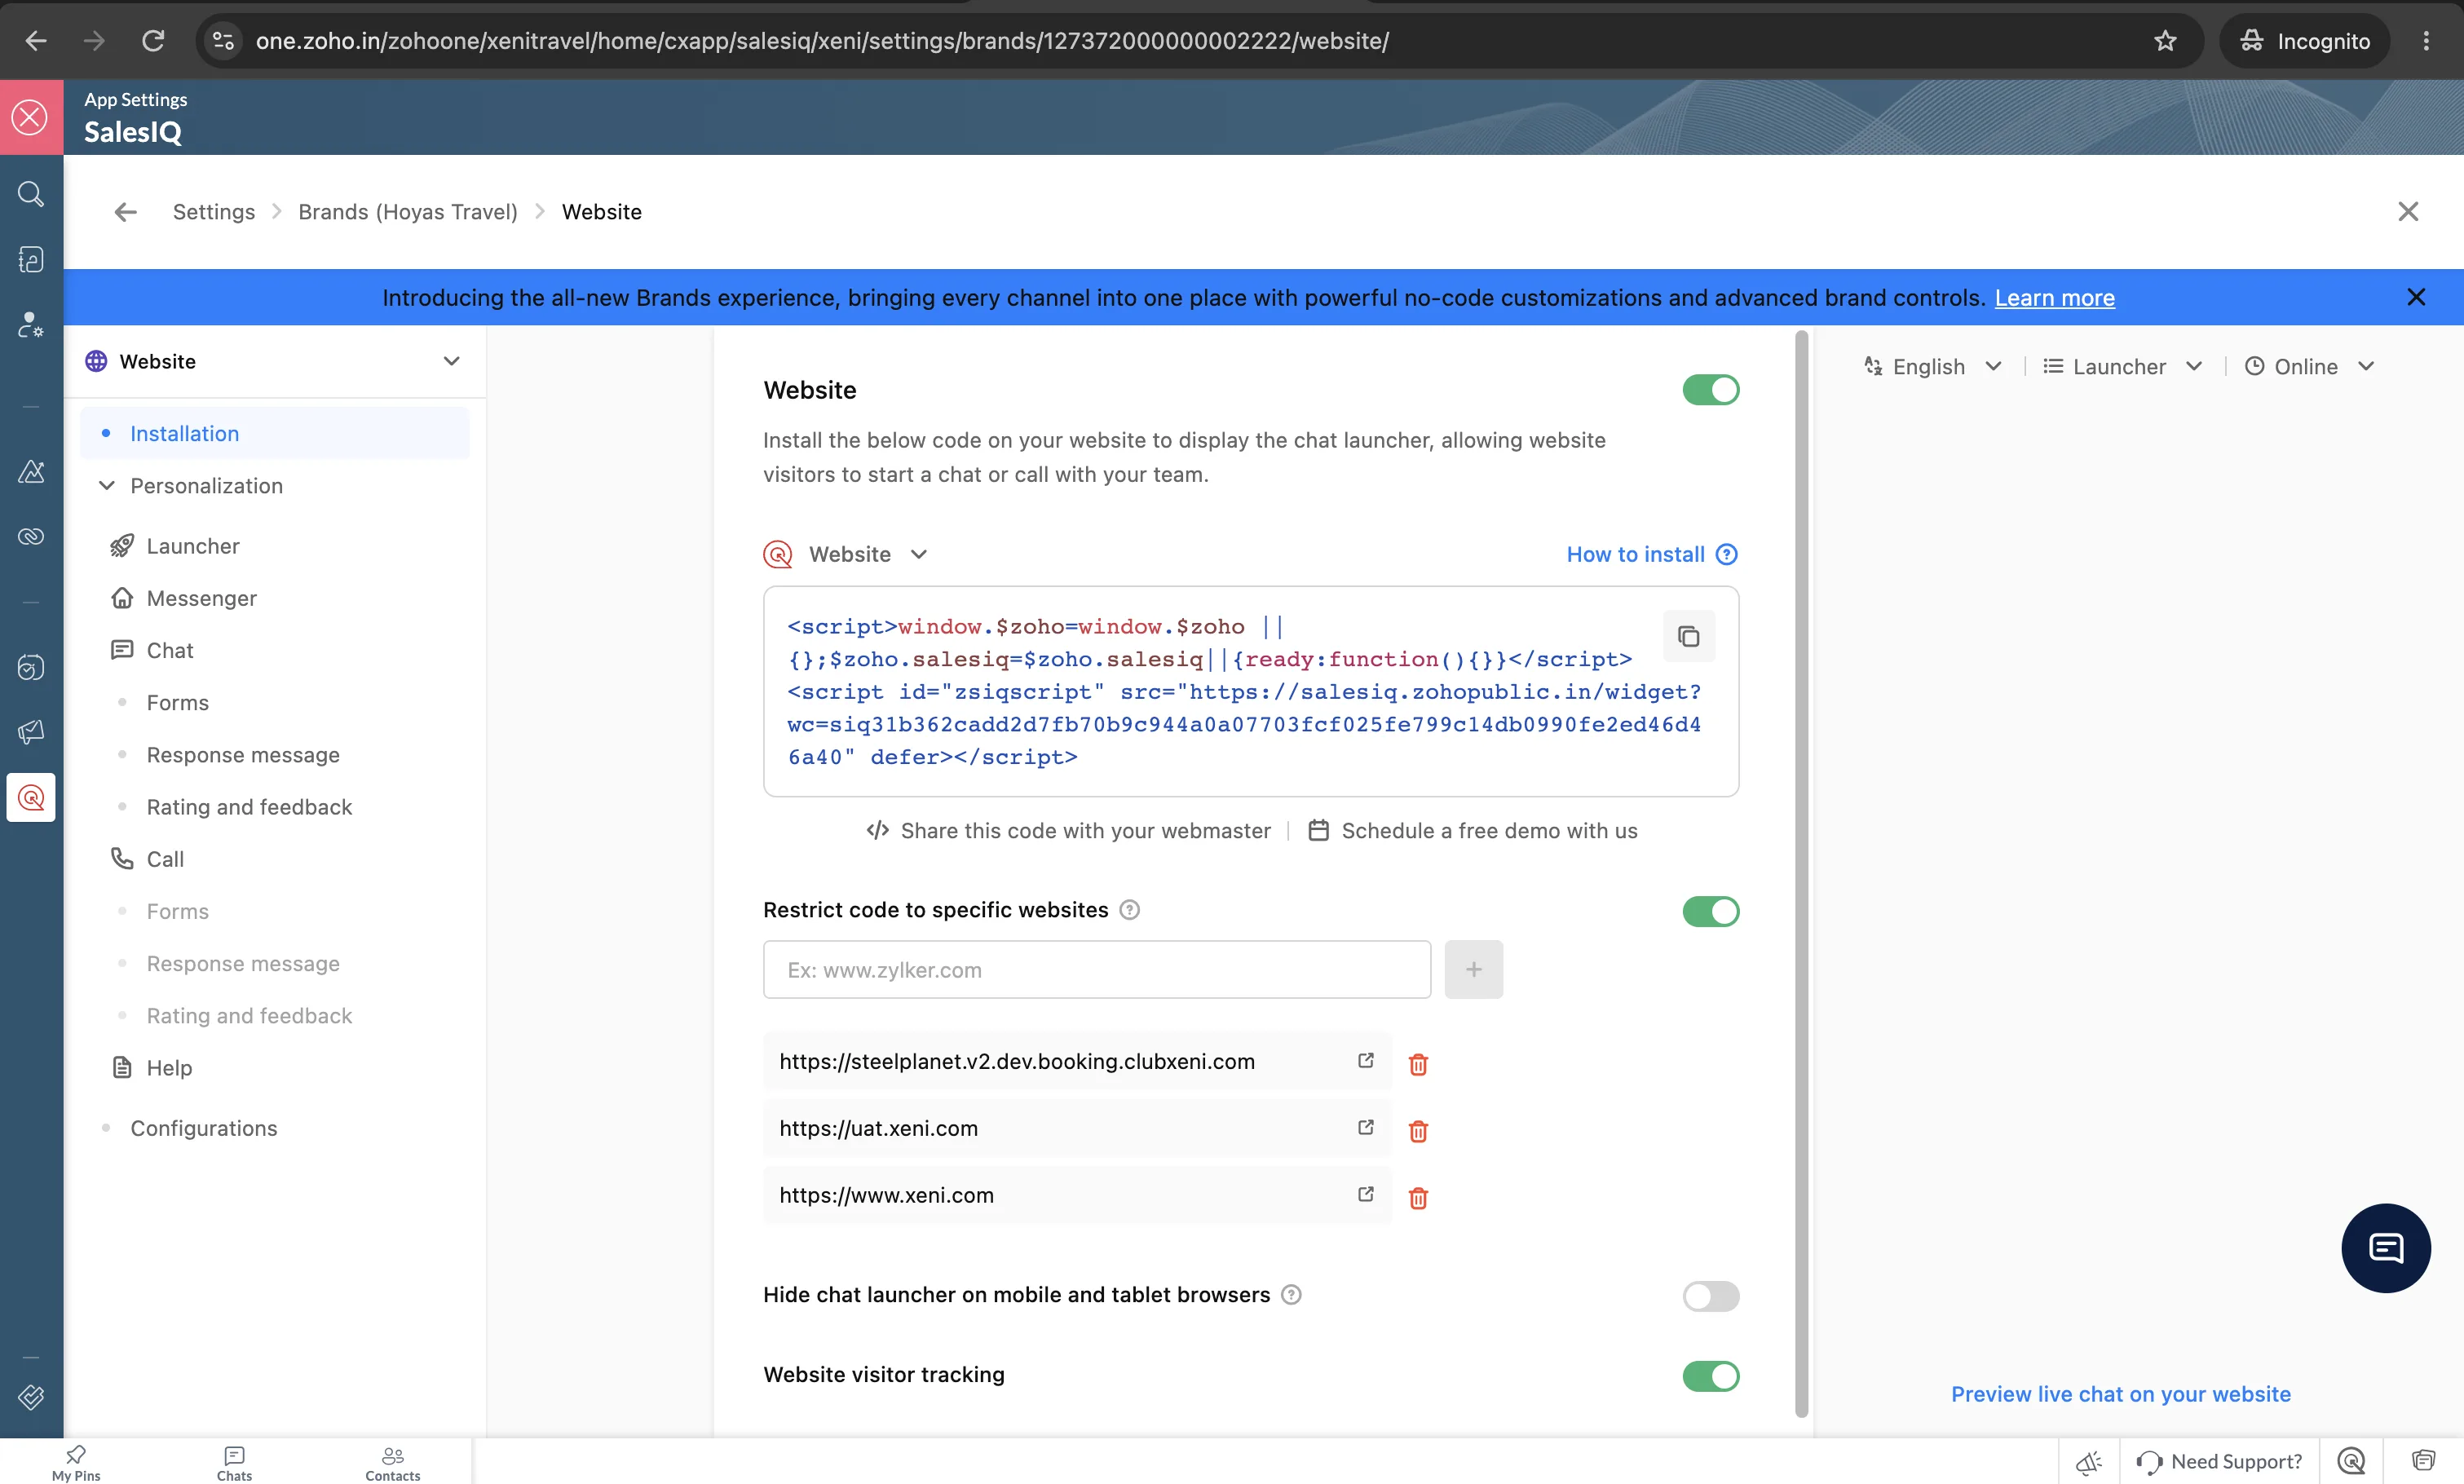
3. Copy the Website installation code
Inside the brand, open Channels, then Website. You land on Installation. Copy the installation code. It includes a wc value that starts with siq, and a host such as salesiq.zohopublic.com. Xeni reads both.
Add your booking site address in the website URL list on that same screen, then save. SalesIQ only loads the chat on addresses in that list.
4. Paste it in Xeni
In Command Center, open Marketplace, then Chatbot, then Zoho SalesIQ. Paste the installation code, confirm the region, and save. Schedule a setup call if you would rather do this with a specialist.