
These guides on xeni.com are available in English and Spanish. Other languages are coming soon.
Intercom calls the public id a Workspace ID and an App ID. They are the same value. Official steps: Install the Messenger and the Messenger install experience.
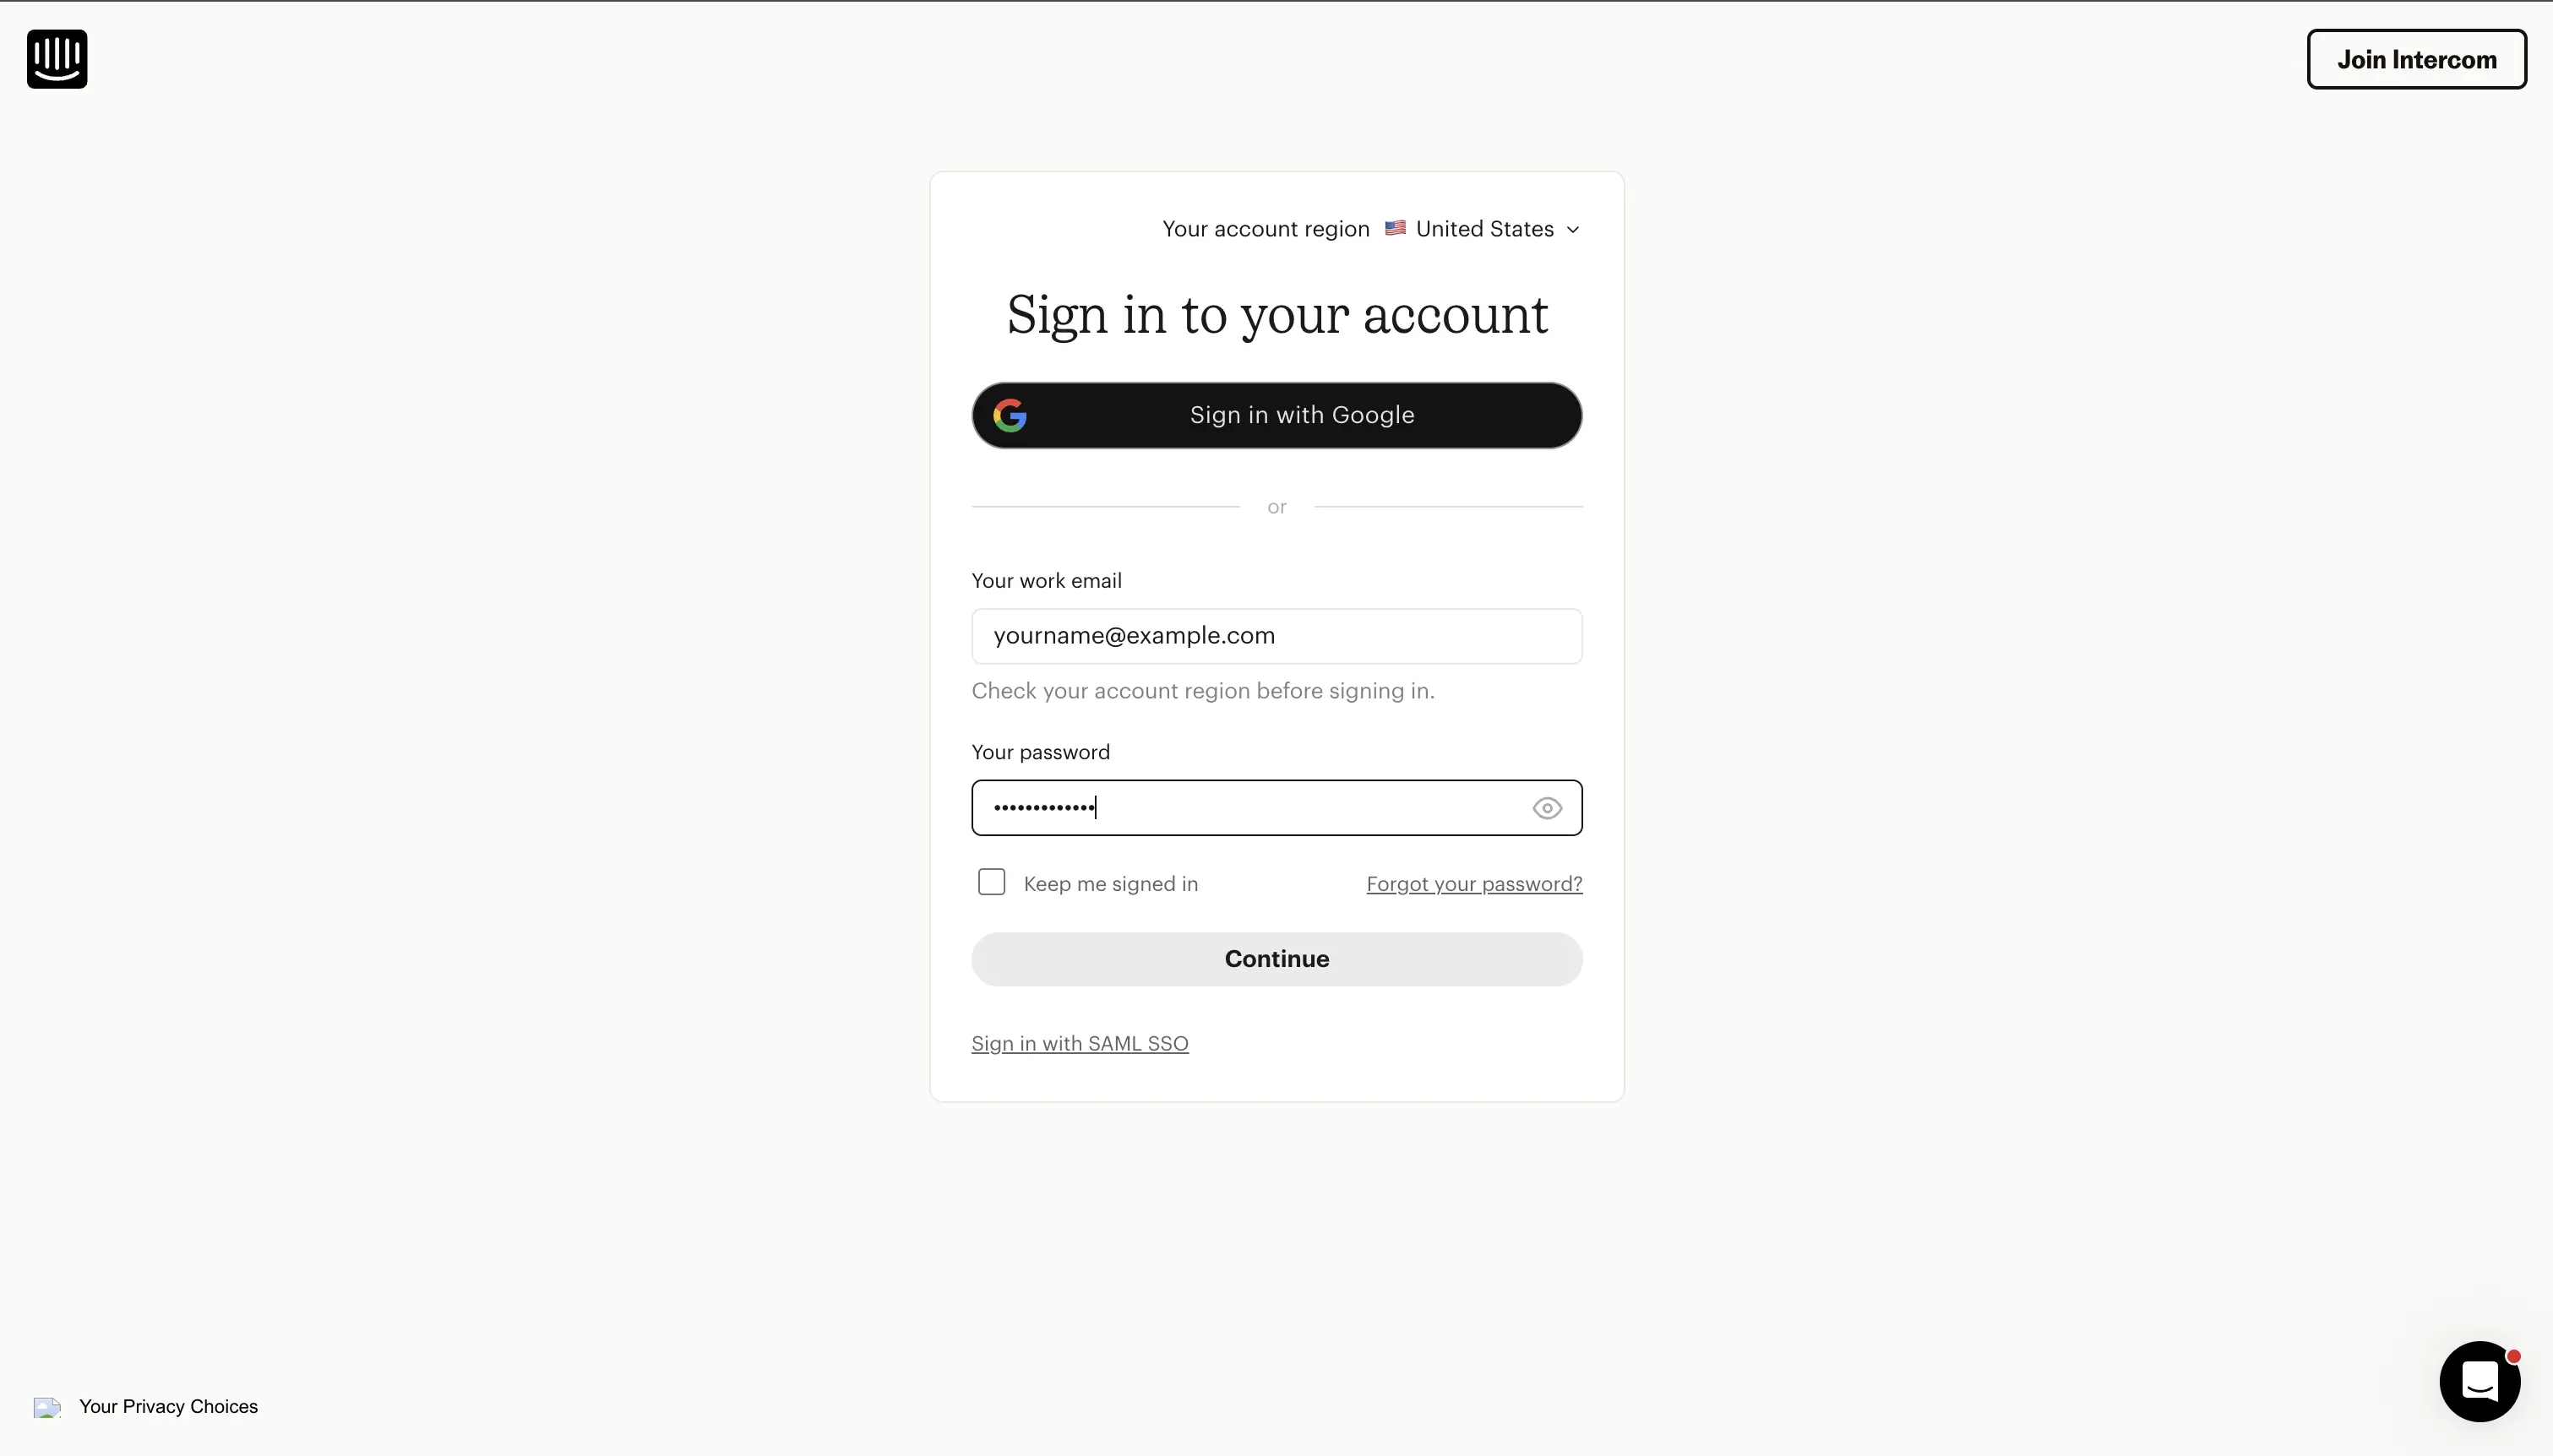
1. Sign in
Open Intercom and sign in to the workspace for this agency.
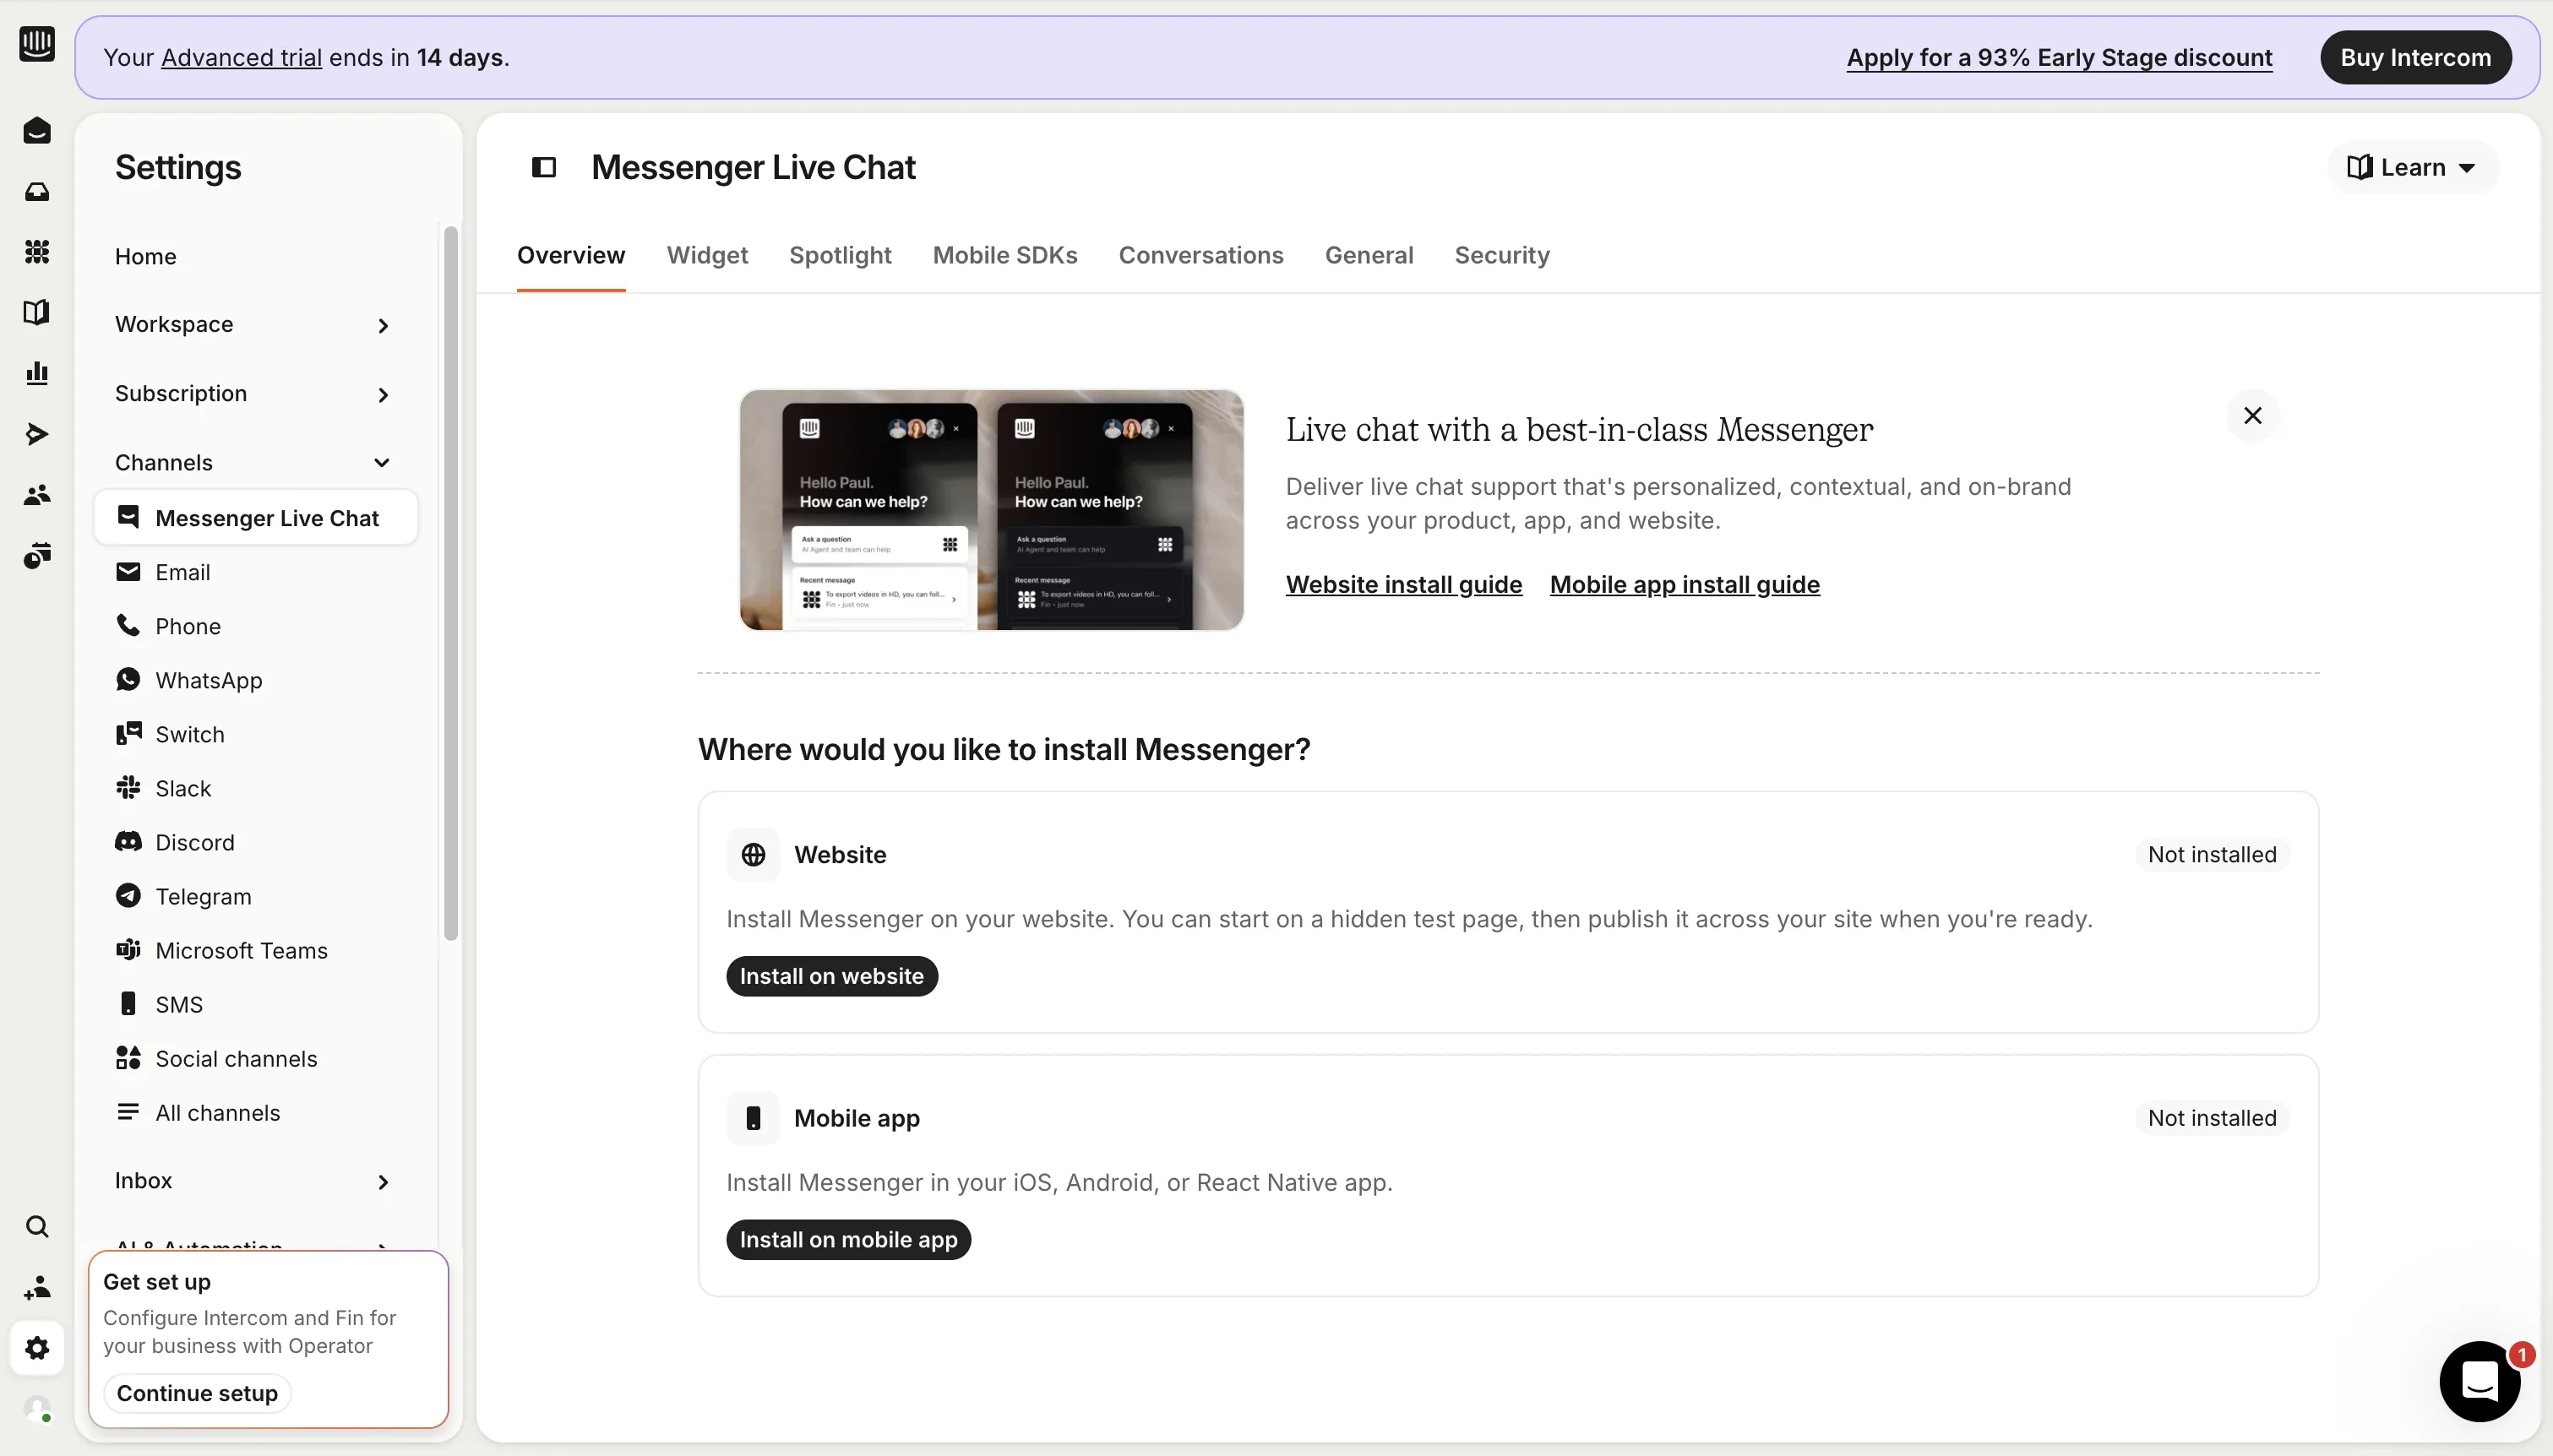
2. Turn on Messenger for Web
Open Settings and enable Messenger for Web. You should see a green check on that step. Then turn on user traffic for the Messenger. Intercom rejects widget requests until that traffic switch is on.
The Workspace ID is also in the address bar, in the text after /a/apps/. For https://app.intercom.com/a/apps/ecahpwf5/home, the id is ecahpwf5.
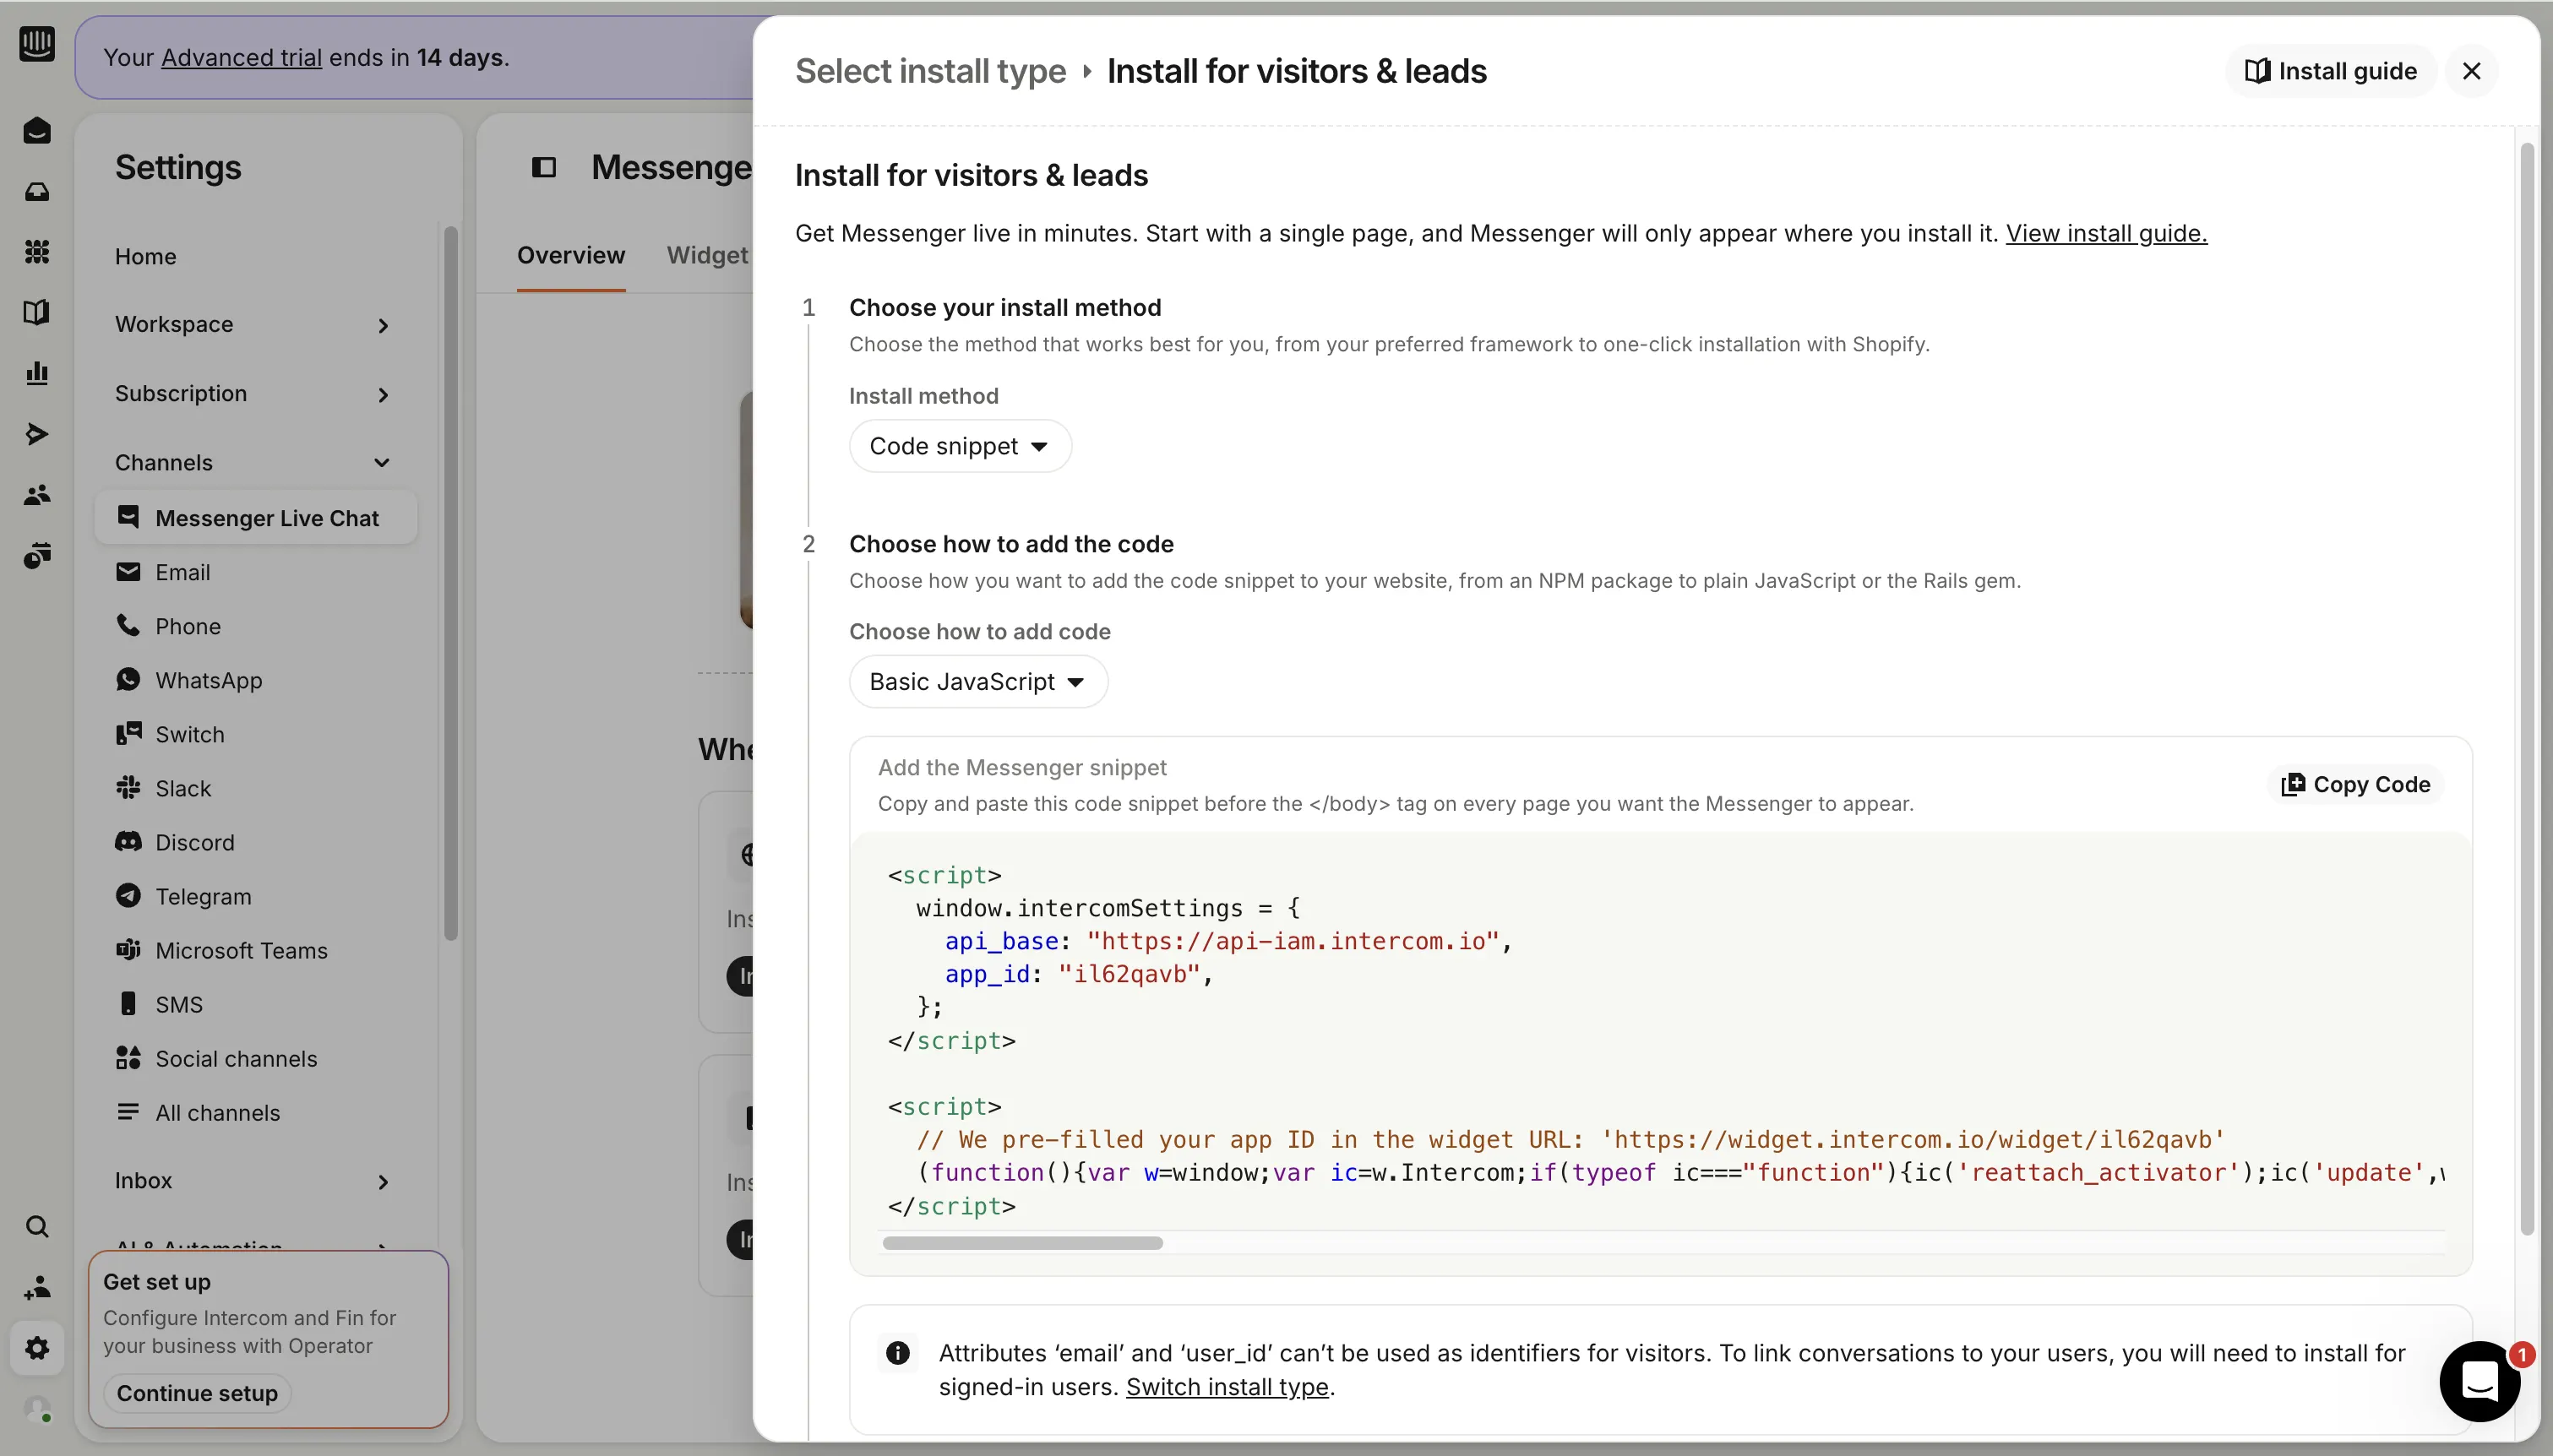
3. Copy the code snippet
Choose the code snippet install method, not WordPress, Shopify, or Google Tag Manager. Select Copy code. The snippet contains app_id set to your Workspace ID. Xeni reads that id and loads the Messenger. You do not paste this snippet into your booking site.
If your workspace is in the EU or Australia, keep the snippet Intercom gives you. The regional host is already in that code.
4. Paste it in Xeni
In Command Center, open Marketplace, then Chatbot, then Intercom. Paste the snippet or the Workspace ID and save. Schedule a setup call if you would rather do this with a specialist.